Showing posts with label Baby. Show all posts

Friday, April 27, 2012

Texture and Tags Blanket

Pin It!
Recently, I noticed that my baby girl has been scratching various surfaces.  She is really starting to take notice of different textures.  I saw the Tags blankets at the store selling for $10 or more.  No way I was going to spend money on something that I could make out of different textured scraps of fabric at home.  So, I went to work.


I cut a bunch of 5 inch squares of fabric of different colors and textures.  I sewed 2 squares together; then I sewed 2 sets of 2 squares together and so on until it was all sewn together.  I sewed 1/2" in on each side of the square so they ended up being 4" squares. 


I laid it on top of the fabric that I wanted as the back of the blanket. 
Remember to have both sides inside out.


In order to make the "tags" I looped ribbon and placed the ribbon inside the blanket before I sewed around the edge.  In order to keep it secure I pinned it in place. 
{I usually don't take time to pin the fabric.}


Now you sew all the way around the edge of the blanket until you have about a 5 inch opening or so.


Now turn the blanket right side out. 


I know that there is a way to finish up the seam to keep it hidden, I just don't take the time because I have other things I want to get done. So, I just sewed the last few inches on the machine.  You can kind of see it, but it isn't really noticeable when you see the who blanket.   I also made a few little stitches in the middle of each set of 4 squares to hold the quilt side to the backing. 


There it is, texture, tags and all. 

Happy Crafting!


Tuesday, January 24, 2012

Diaper Cake

Pin It!
I know that SO Many people have made diaper cakes, but a few months back I took a stab at making one.  I think it turned out pretty cute.  Just in case you haven't seen how to make one, I'll post some pictures  on the steps to making one. 

Diaper Cake


I started with a charger plate from the Dollar Store.


Roll up the diapers and place a small rubber hair band around each one to hold it in place.  It's easiest to do this all at once and then assemble them. 


Place a large baby bottle with a rubber band around it in the center.  Slip 6 diapers around the bottle inside the rubber band.  Then place another rubber band around the set of 6 and slip 11 or 12 more diapers inside that rubber band.  Do the same thing with 18 diapers around the outer edge. 
This is the base of your cake.


Build the middle tier in the same manner as the first, with 6 diapers and then 11-12 diapers.  


Now build the third tier.


It will require a small bottle to complete the top tier. 


Place ribbon around the middle of the diapers to cover up the rubber bands.


I only tied a bow on the top tier, but you can do this on all three if you want.


Now, complete it with fun as well as practical things like stuffed animals, baby spoons, wash cloths, nail clippers and small toys. 


So cute. 

Happy Crafting!


Thursday, January 12, 2012

Baby Dress

Pin It!
When you have a little girl, you just have to dress her up in dresses, right?  {Not every day... but I definitely love dressing her up.} She had a few dresses that I got as shower gifts.  A couple already fit her, but not too many.  We also bought her a cute little dress from Target; but I really wanted to make Kaylee a dress.  {NOTE: I am by no means a seamstress.  I am a VERY recently self-taught hobby sewer.}

I had a sweater that I shrunk (on accident).  It's one of those sweaters that has a fake shirt sewn into it.  I decided that it would be super cute to make a dress out of that.  

Shrunken Sweater
Dress from Target

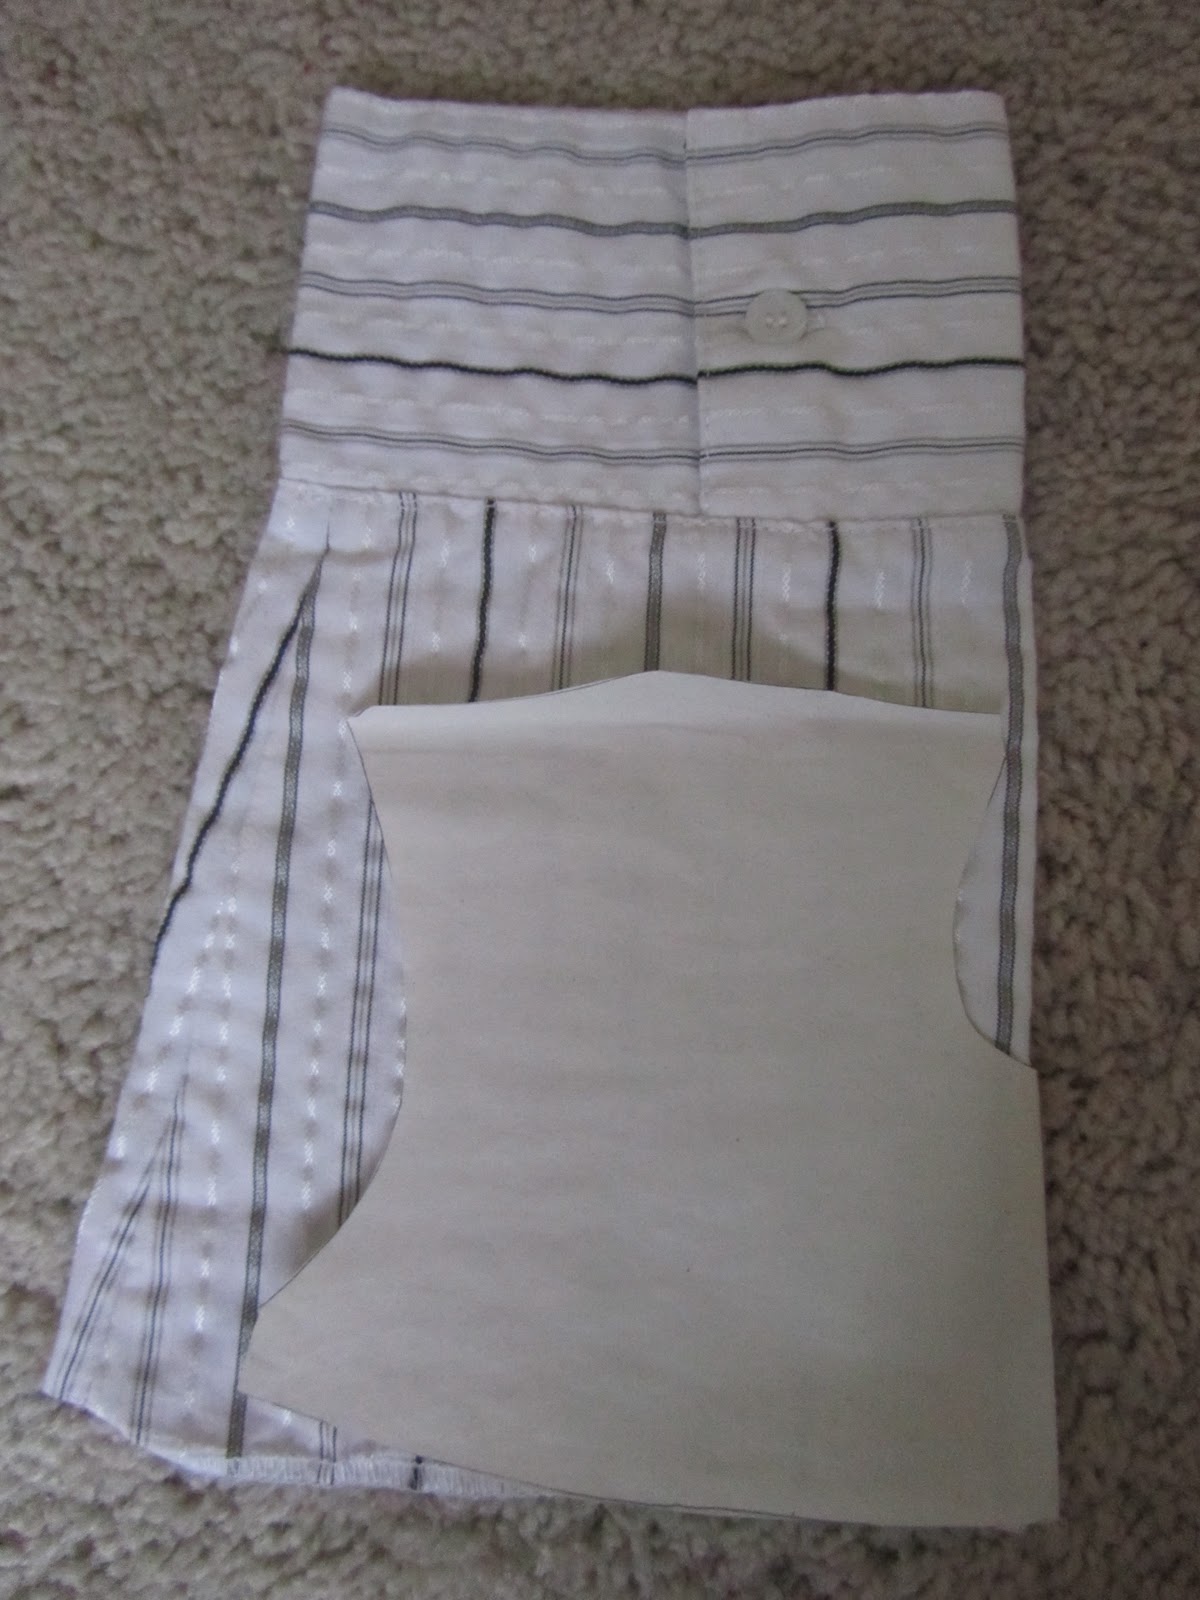
The first thing that I did was trace the dress onto paper (each individual section with a little each for seam allowance).  Then I separated the sweater from the fake shirt with a seam ripper.


I cut out the skirt part of the dress from the sweater.

Front

The top part of the dress I cut from the sleeves of the fake shirt.

back

Here are all of the pieces laid out ready to sew. 


The dress isn't perfect, but oh well. 


Here it is on the little cutie. 


I put a long sleeve onesie on underneath because it was kind of chilly. She's so cute. :)


Happy Crafting!

Wednesday, November 2, 2011

Kaylee's Fun Book

Pin It!
One fine Saturday, my dear husband just wanted to hang out/ lay low/ chill.  He decided to play video games (which he really doesn't do that often) and I decided to make a book for Kaylee.  We were in the same room, commenting on each others' activities, so I guess the time was still kind of spent together.   Anyways, I have a ton of craft foam sheets left from my Elementary Ed. days at Taylor University *fun times* so I used that to make a book.  

For this project: Foam + hot glue + velcro + other little scraps of fabric/ribbon + Paper

Kaylee's Fun Book


I used scrapbook paper for the Title.
The book stays closed by this little bow :)


Yes, I do cut velcro dots in half at times to make it last longer. Call me cheap. 

Page 1:


Move the banana!


Page 2:


Make Pig's eyes go crazy.


Page 3:


Ribbon Mane.

Page 4:


Put your fish from the net to the fish bowl. 


Page 5: 


Help Frog catch flies.


Page 6: 


Change the color of the butterfly's dots. 


This was a fun and very cheap craft... especially since I already had everything on hand.  

Sewing it and using all fabric probably would have been more study in the long run, but I think this is still pretty durable.