Showing posts with label Sewing. Show all posts

Tuesday, May 8, 2012

Yellow Cardigan

Pin It!

I'm an amateur seamstress.  I'm self-taught. I just kind of do it.  Technicalities are not important to me whatsoever.  So, bear with me.  


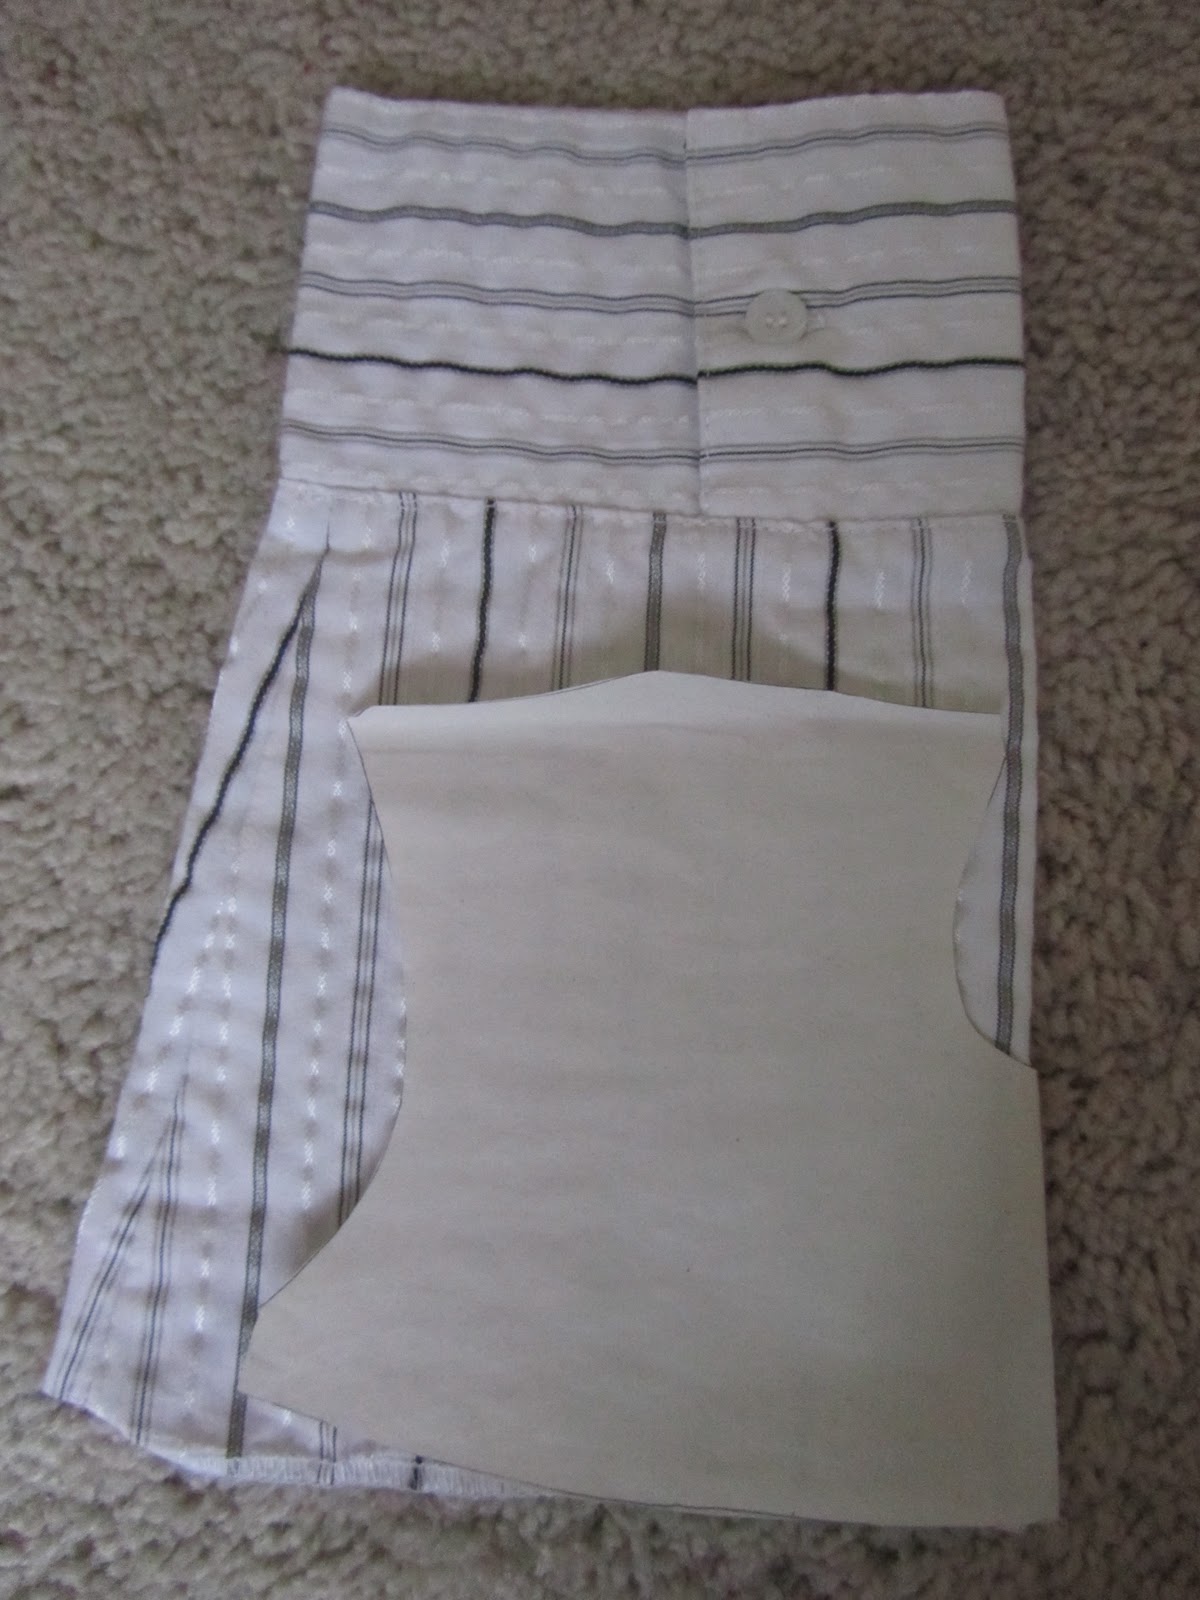
I took an old shirt that was a little too small for me.  


Using straight pins, I marked the center of the shirt and cut it.


Then, I sewed about a 1/2" seam on each side of the front.  


I cut off the sleeves a couple inches longer than I wanted them. 


Using some of the extra fabric, I made a little strip of fabric.  I sewed a little tube for each side.  The seam went on the back.  


I found some cool buttons in a button box left for me from my grandma.  I LOVE them. I rolled up the sleeves twice, wrapped the strip of fabric from the inside to the outside and sewed the button on to hold the strip in place.  


And, here it is! 


Friday, April 27, 2012

Texture and Tags Blanket

Pin It!
Recently, I noticed that my baby girl has been scratching various surfaces.  She is really starting to take notice of different textures.  I saw the Tags blankets at the store selling for $10 or more.  No way I was going to spend money on something that I could make out of different textured scraps of fabric at home.  So, I went to work.


I cut a bunch of 5 inch squares of fabric of different colors and textures.  I sewed 2 squares together; then I sewed 2 sets of 2 squares together and so on until it was all sewn together.  I sewed 1/2" in on each side of the square so they ended up being 4" squares. 


I laid it on top of the fabric that I wanted as the back of the blanket. 
Remember to have both sides inside out.


In order to make the "tags" I looped ribbon and placed the ribbon inside the blanket before I sewed around the edge.  In order to keep it secure I pinned it in place. 
{I usually don't take time to pin the fabric.}


Now you sew all the way around the edge of the blanket until you have about a 5 inch opening or so.


Now turn the blanket right side out. 


I know that there is a way to finish up the seam to keep it hidden, I just don't take the time because I have other things I want to get done. So, I just sewed the last few inches on the machine.  You can kind of see it, but it isn't really noticeable when you see the who blanket.   I also made a few little stitches in the middle of each set of 4 squares to hold the quilt side to the backing. 


There it is, texture, tags and all. 

Happy Crafting!


Thursday, January 12, 2012

Baby Dress

Pin It!
When you have a little girl, you just have to dress her up in dresses, right?  {Not every day... but I definitely love dressing her up.} She had a few dresses that I got as shower gifts.  A couple already fit her, but not too many.  We also bought her a cute little dress from Target; but I really wanted to make Kaylee a dress.  {NOTE: I am by no means a seamstress.  I am a VERY recently self-taught hobby sewer.}

I had a sweater that I shrunk (on accident).  It's one of those sweaters that has a fake shirt sewn into it.  I decided that it would be super cute to make a dress out of that.  

Shrunken Sweater
Dress from Target

The first thing that I did was trace the dress onto paper (each individual section with a little each for seam allowance).  Then I separated the sweater from the fake shirt with a seam ripper.


I cut out the skirt part of the dress from the sweater.

Front

The top part of the dress I cut from the sleeves of the fake shirt.

back

Here are all of the pieces laid out ready to sew. 


The dress isn't perfect, but oh well. 


Here it is on the little cutie. 


I put a long sleeve onesie on underneath because it was kind of chilly. She's so cute. :)


Happy Crafting!

Tuesday, November 1, 2011

Joann Fabric's Remnants

Pin It!
This week I have wanted to be able to sew at least one more thing before Kaylee comes.  This is mostly due to the fact that I just picked up sewing* and after she's here I may or may not have much time to sew and still keep up on other things and figure out how to take care of a baby.  I'm guessing that I probably won't have much time to sew.

So, with the hopes of a couple more projects in mind (not knowing EXACTLY what those projects might be) I have been raiding the Joann Fabric remnants.  Now that I have quite a few colors and textures, I know that I will be able to do quite a few things with it.  (We'll just see if I have the TIME to do quite a few things.)

* I have only made 4 things before these project... 2 baby boy ties and 1 baby boy bow tie and I added ruffles to a t-shirt.

Well, I didn't really take a lot of pictures for the steps for these projects--mostly because I am still learning the whole sewing process myself, so it's kind of a trial and error type deal.  Overall I was very pleased with the results.

Sewing Project #5: Boppy Cover 

Tutorial can be found here.


The tutorial was super easy to follow.

*A few tips and changes for next time*
~ Add about 1/4" all the way around the pattern.  It's SUPER snug on my boppy and I tried to sew it relatively close to the edges. 
~ On the back with the velcro/zipper, perhaps add another half an inch to one of the sides.  
~ I had to use 5 small pieces of velcro in order for it to look nice while it's shut.  

Overall, I REALLY like it.  It was MUCH cheaper than buying a new cover at the store.  We just bought one (I like it, want to have 2, and so I will keep it) for $25.  They run anywhere from $15 to $30.   

Sewing Project #6: Little Elephant

I made this elephant out of scraps from the boppy cover (and a couple of other scraps I had laying around).


Next time I will definitely put fewer ribbon tags on it.  For the most part it's fun. 
 The back side is the pink fleece.

Well, that's all for now.  I'm thinking my next post might just be a bunch of random finished things I have done that will maybe inspire you to do your own thing. No step-by-steps, but sometimes that's can be better anyways.