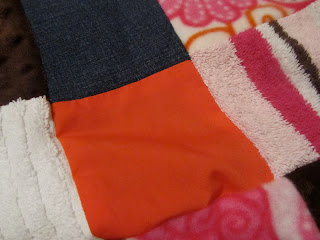
Recently, I noticed that my baby girl has been scratching various surfaces. She is really starting to take notice of different textures. I saw the Tags blankets at the store selling for $10 or more. No way I was going to spend money on something that I could make out of different textured scraps of fabric at home. So, I went to work.
I cut a bunch of 5 inch squares of fabric of different colors and textures. I sewed 2 squares together; then I sewed 2 sets of 2 squares together and so on until it was all sewn together. I sewed 1/2" in on each side of the square so they ended up being 4" squares.
I laid it on top of the fabric that I wanted as the back of the blanket.
Remember to have both sides inside out.
In order to make the "tags" I looped ribbon and placed the ribbon inside the blanket before I sewed around the edge. In order to keep it secure I pinned it in place.
{I usually don't take time to pin the fabric.}
Now you sew all the way around the edge of the blanket until you have about a 5 inch opening or so.
Now turn the blanket right side out.
I know that there is a way to finish up the seam to keep it hidden, I just don't take the time because I have other things I want to get done. So, I just sewed the last few inches on the machine. You can kind of see it, but it isn't really noticeable when you see the who blanket. I also made a few little stitches in the middle of each set of 4 squares to hold the quilt side to the backing.
There it is, texture, tags and all.
Happy Crafting!


No comments:
Post a Comment