

1) I was sick of having to get ready in the morning with all of the junk on the counter in my way
2) I hated the thought of cleaning the bathroom because it was always SO cluttered... thus it was not cleaned as often as it should have been.
3) I could never find anything under the bathroom sink.
4) I had no idea that I had 6 things of floss, 9 toothbrushes, or 3 travel sized toothpastes because of lack of inventory of the underworld of our vanity. I also did not realize I had 3 opened bottles of nail polish remover. Or that we were almost out of our toothpaste (regular size).
5) I was sick of stubbing my toe on my hair dryer that had no place other than the floor at least 2 out of the 4-5 times I got up in the night to go to the bathroom (thanks to the little bouncer in my belly).
So, I decided that it would be wise to start there. Plus I would be able to consolidate all of the stuff from the other bathroom as well. It was a smaller space and I could practice organizing. I also knew they had the appropriate sized bins at Dollar Tree, so this organizational project wouldn't break the bank.
Before I describe what I did, I want you to get a little peak into what my bathroom was like beforehand.
MASTER BATHROOM BEFORE


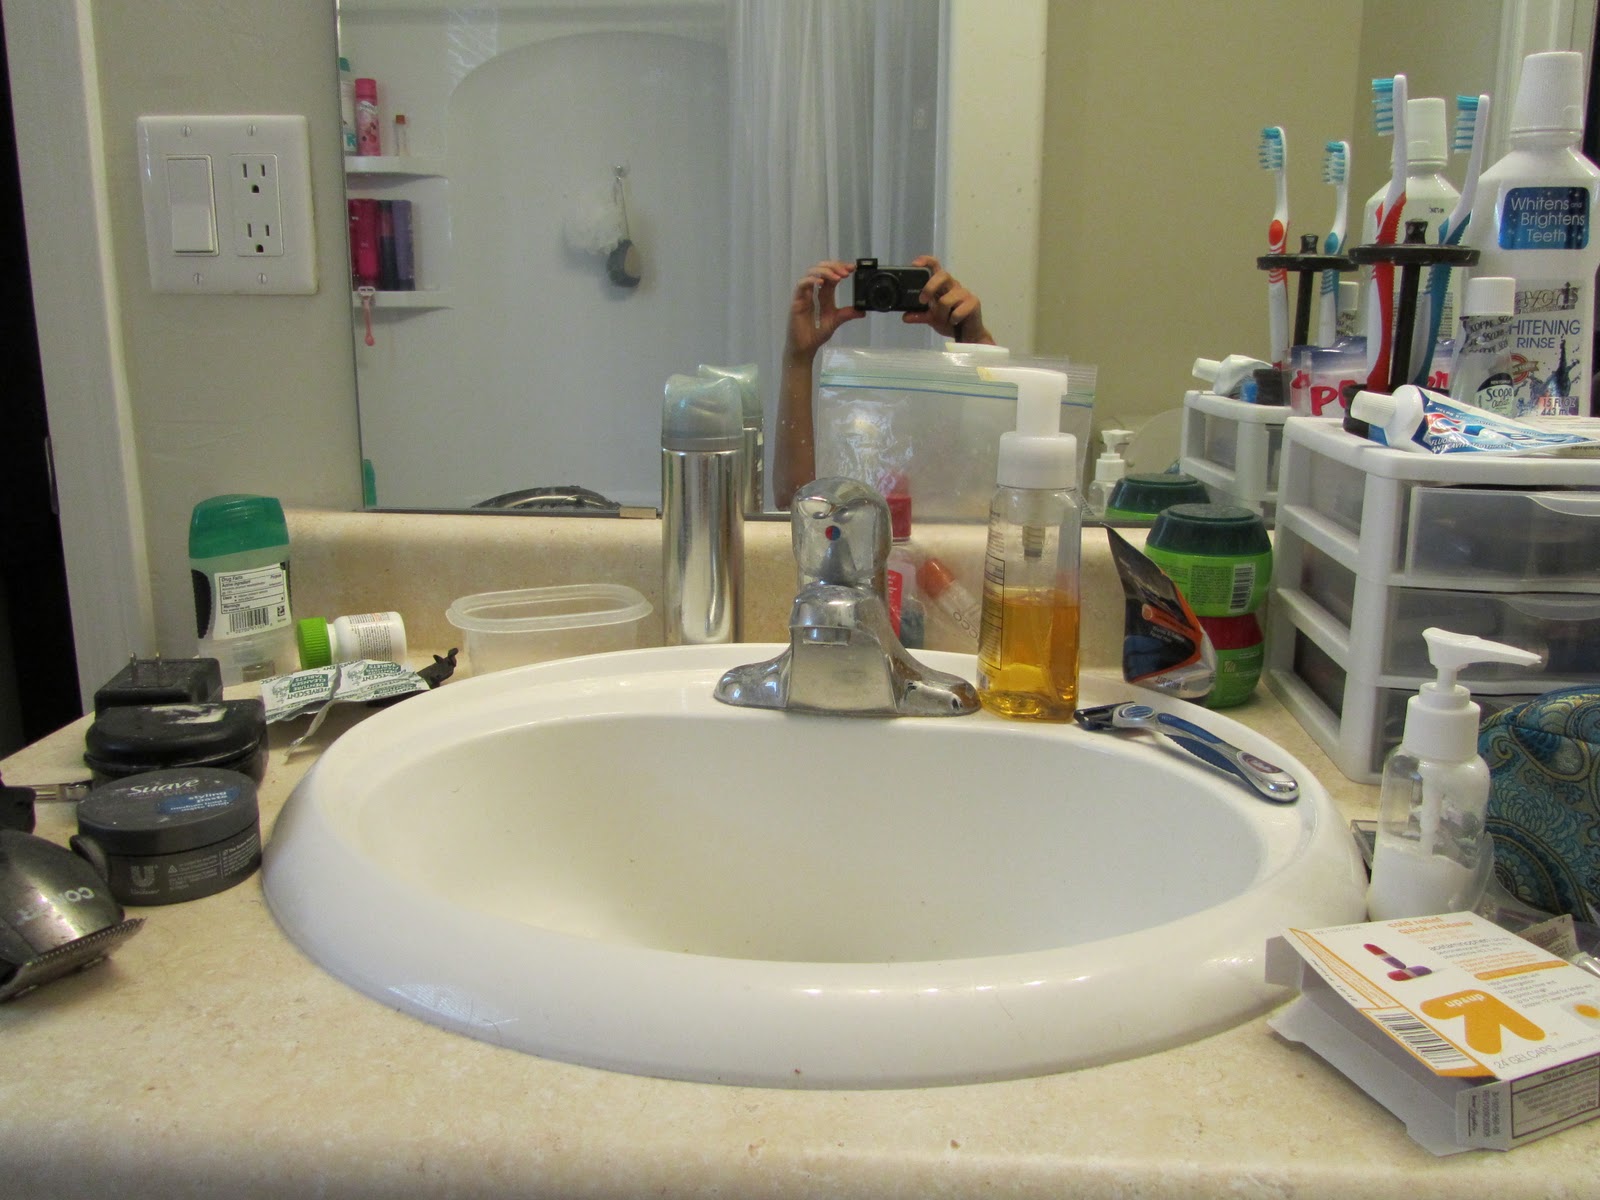

It was a mess! And as sad as it is, this was the typical state of our bathroom. So, I took EVERYTHING out of the bathroom. I emptied the medicine cabinet, took everything off of the countertop, took everything out of the shower, and emptied the contents under the vanity. *Then, first thing first, I did a thorough cleaning of the bathroom. I wanted to be sure I had energy for that part of the task.*
Everything was now piled in the loft area. In order to start the organization part of the task, I disposed of all the expired medicines and old shampoos/lotions that were gunky that I knew we would not use anymore. After that, I made piles of stuff. I had a ton of Band-Aids, razors, tooth care items, cold medicines, a nasal rinse system, cotton balls/ Q-tips, unused-but-still-good lotions, extra shampoo/conditioner, nail polish, make-up, hair accessories, hair appliances, and feminine products--split into two categories. I separated all of these items into piles and counted up how many bins I would need buy. I had 14 different piles. I already had a bin that I used for cold medicines, one that I could use to contain my hair appliances, and one that I could easily arrange and store my nail polishes. That meant I needed 11 bins or baskets.
*At that point, I also remembered that I had two shelves that my mom had given me and I had white paint leftover from where I had painted the nursery furniture. So I painted the shelves and decided to put some of the stuff into baskets on top of those.*
So, I went to Dollar Tree in search of 7 bins and 4 baskets. I got 7 shoe-box sized bins--that was easy. I looked and looked at different baskets. The ones I liked the most had acorns on them because they were seasonal baskets. So I got some ribbon to cover it up. It wasn't a hard project at all and took very little time and was very inexpensive.

I hot-glued the ribbon around the outside and made a bow on one side.

Here are the finished baskets. $5 plus a little hot glue and some scraps of navy blue ribbon.
MASTER BATHROOM AFTER
The Vanity: Not entirely cleared off, but some things get used so often
that leaving the out is the easiest solution.

Underneath The Vanity:

Cleaning supplies, Cold medicine...

Tooth care items, razors, cotton balls/Q-tips, Band-aids, Sinus Rinse...

Extra shampoos, conditioners, and sunscreens; nail polish, hair appliances.


I also wanted a place where my hubby could keep his magazines.
The baskets hold the items that I wanted easier access to like the hair things, makeup, and feminine products.
The magazine holder was a Goodwill find that I added embellishments to. The art hanging on the wall behind the baskets was super easy and inexpensive. I'll do another post on that later.
Cost for this organization project:
$7... bins
$5... baskets
$4... magazine holder
$1.50... hanging art work
*The shelves were ones I got for free. You can find inexpensive ones at many places out there. :)
TOTAL: $17.50
Done and done. Now hopefully it will stay tidy.
Wow! You are inspiring! My bathroom could really use a Cassie makeover - maybe I'll get to it this weekend... I really like your basket and flower ideas - I've been on the hunt for cheap baskets but never checked out Dollar Tree. Great ideas!!! :-)
ReplyDelete